
MODULE 7 - LOCATING ELK
CHAPTER 2: TACTICS FOR LOCATING ELK

There are a handful of tactics that are effective in locating elk while you are in the field. Once you have found an area that shows signs of recent elk activity, it’s simply a matter of employing one or more of these tactics to locate the elk.
GLASSING
Spotting elk with the use of optics is probably the most common way to locate elk. From a high vantage point overlooking a lot of elk country, it doesn’t require a lot of hiking or physical exertion to find them. Additionally, it allows you to look over many elk, and make a determination of which ones are in the most huntable location, which bull is biggest, etc. You can also watch the elk and determine where they are heading, which may allow you to formulate a plan of attack, possibly even for a hunt later in the day or later in the week.
Glassing is most commonly used for later season hunts when calling isn’t as effective, or in more open terrain where you can scan large areas from a single vantage point. It is also a great tactic for hunting in areas where you are looking for a certain size of elk, as you are able to size up the elk from long distances before deciding whether or not you want to make a move.
Glassing for elk is usually much easier than glassing for most other animals, as their light tan bodies typically stand out quite noticeably. They are usually most visible at first light as they feed along open ridges and meadows, and again in the late evening as they make their way from bedding areas to feed.
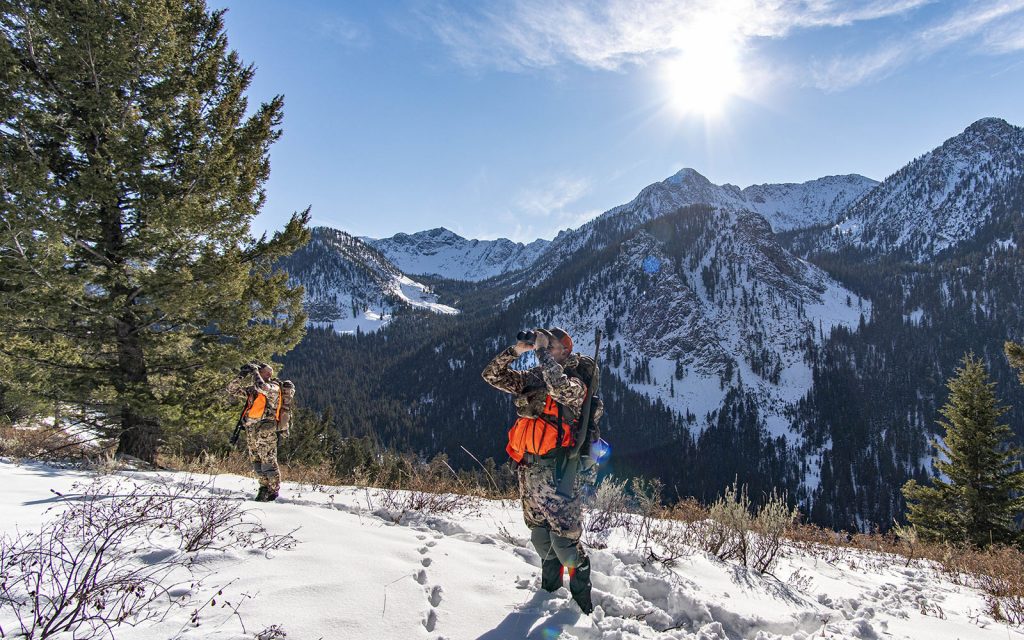
Trying to spot bedded elk in thicker, more secure bedding areas can be difficult, but if you are able to spot them, it can provide you with an opportunity for a stalk on a stationary elk as opposed to trying to catch up to them as they move from area to area. However, even in timbered areas, you can often spot elk feeding along open ridges and in other openings throughout the mornings and evenings.
Another benefit to glassing for elk is that you are able to cover a lot of country without actually hiking through it and filling it with your scent. This can provide you with extra time to make wiser decisions and plan the best way to approach the elk and hunt the area. Often times, I’ve been able to glass multiple herds of elk in different locations, which gives me back-up options if things don’t go according to plans.
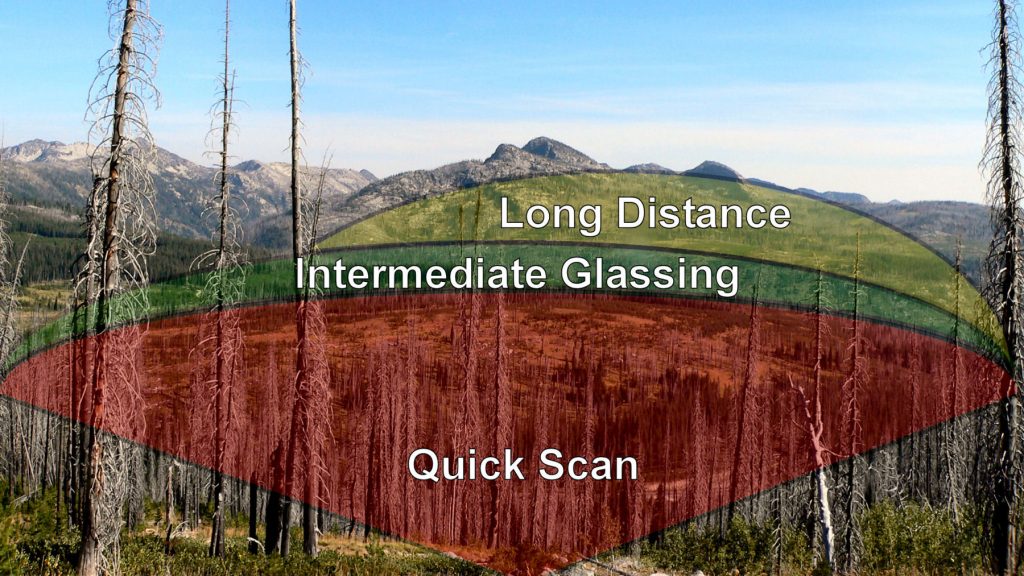
Depending on the terrain where you are glassing, a good pair of binoculars (8x or 10x) or a good spotting scope and tripod are preferred. For the most part, I start out glassing the areas that are closest to me, and then work my way out. Here is a breakdown of my glassing strategy:
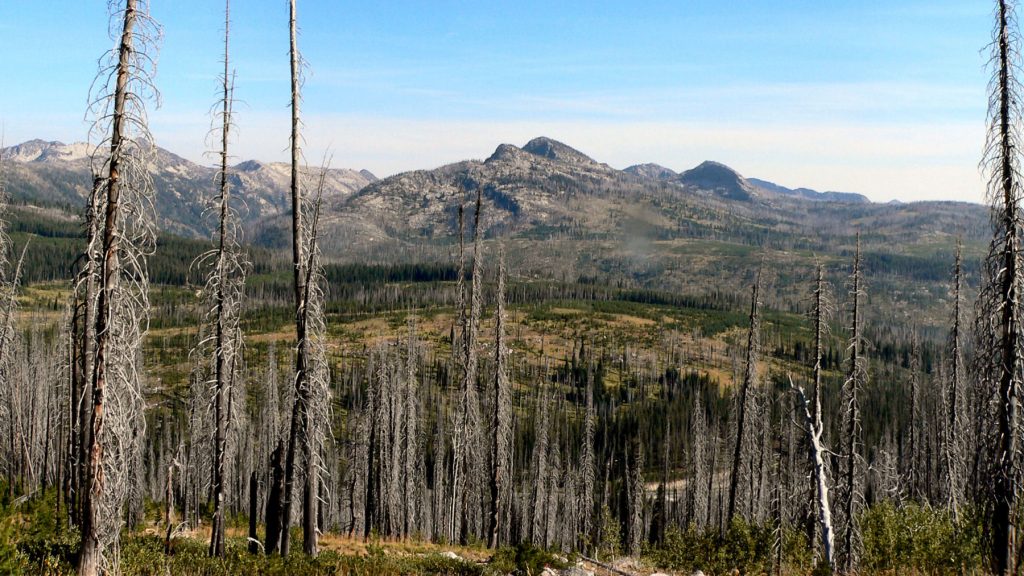
QUICK SCAN (0-200 YARDS):
When I get to a glassing location, I scan the areas that are closest to me first. If there are elk close, I want to spot them before they see, hear, or smell me. Many times, this quick scan can be done without using optics. If I do notice something that looks suspicious or out of place, I’ll use my binoculars to confirm or identify it.
INTERMEDIATE GLASSING (200-800 YARDS):
Once I’ve made a quick scan of the immediate surroundings, I’ll do a quick once-over of the intermediate areas. Sometimes, you are able to spot the light colored bodies at great distances, but for the most part, I’ll be using my binoculars for this scan.
On my first pass, I use my binoculars to scan the open areas where elk would be most easily spotted. As I mentioned, elk are large and fairly easy to spot at this distance, so I’ll do a quick visual cruise through all of the openings and potential feeding areas that are visible from where I’m sitting. I usually scan these areas in a methodical grid, starting bottom left and moving to the right, then moving up a level and going back to the left, etc. This allows me to look over the closer areas first, and then move out to the farther areas. The average time I spend glassing like this is usually just a couple of minutes. I’m simply looking for the easy to spot animals at this point.
Once I’ve finished my first sweep of the intermediate area, I usually do another scan with just my eyes. This not only gives me a chance to rest my eyes before going back to work, but many times I’ve spotted something out of place or something that I didn’t see before that turns out to be elk. Then, I go back to the binoculars and start picking apart details on the “fringe” of the openings. The fringe is the area where there is a distinct change in vegetation, topography, or a combination of the two. Elk like to hang out here for two obvious reasons: easy access to immediate security and a quality food source. At this point, I begin focusing in and concentrating on detail. Instead of looking for an entire elk, I now look for bits and pieces (legs, heads, rumps, antlers, etc.). I don’t generally use a tripod for glassing with binoculars, but they will definitely steady the search, especially at the longer distances (or with higher powered binoculars) when you’re trying to pick up an obscure detail.
LONG DISTANCE AND FINE DETAIL (800+ YARDS):
Glassing for elk at longer distances is definitely made easier with the use of a tripod. Binoculars and spotting scopes can both be mounted to a tripod, which allows you to lock the optics in one area and scan through it with great attention to detail. Additionally, at longer distances, especially with higher powered optics, hand-holding can produce a great deal of shake and subsequent eye strain. Even if you don’t carry a tripod, binoculars can be steadied with a monopod, or even a trekking pole.
Personally, I very rarely carry a spotting scope while actually hunting elk. However, hunting in more open country, especially in a trophy unit where I want to lay eyes on as many bulls as possible, a spotting scope is a must.
Similar to my strategy for the intermediate distances, for long distance glassing I will start in one area and set the optics. Then, without moving the optics, I will begin scanning the field of view, looking for elk.
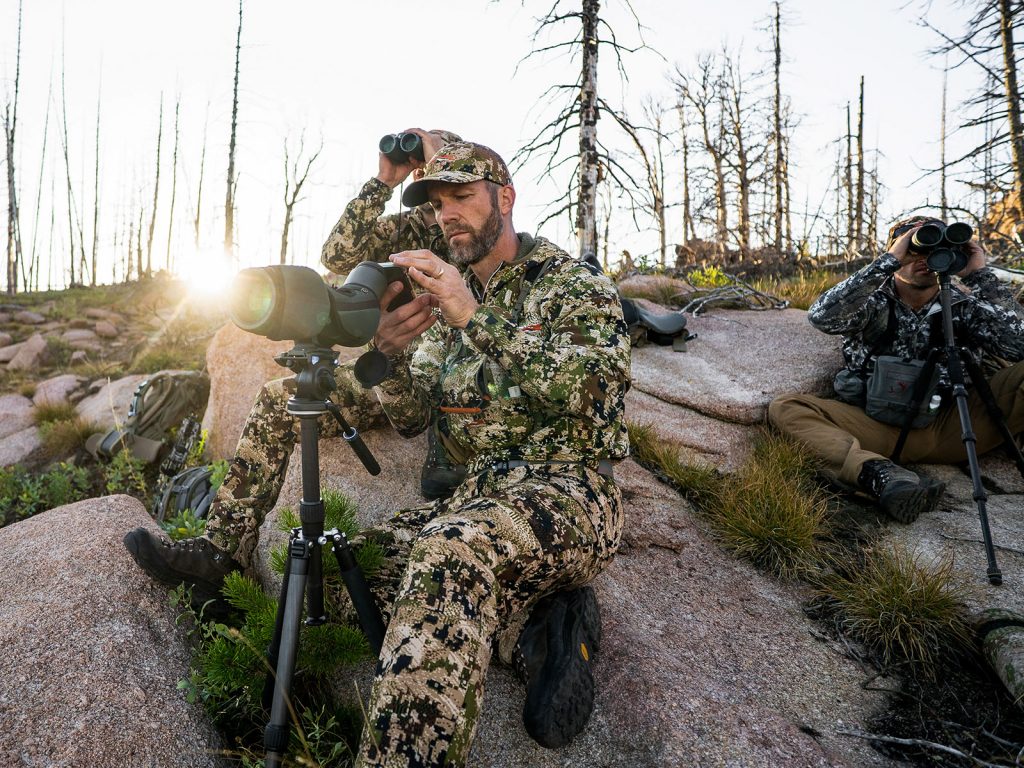
Once I have thoroughly scanned everything in that view, I will move the optics to the next area and lock them in place. I scan that view, and then move from side to side until I have picked apart every opening and likely area. Depending on my patience, I may go back through those areas and look for legs, antlers, etc., but in all honesty, my patience usually has me up and moving for another vantage point and a new landscape to glass.
STILL-HUNTING
Whoever named still-hunting was obviously confused. Still-hunting is not sitting still, but is actually moving very slowly through an area. In my opinion, still-hunting is probably the least effective way to locate elk, but since I can’t stand to sit still and just wait, if glassing or calling aren’t working, I often fall back to this method.
Still-hunting is probably more of an effective hunting strategy than a locating strategy, but sometimes it is the only method available for locating elk. However, I usually walk a lot faster than a normal “still-hunt” pace until I start getting into more fresh sign (i.e. locate them), and then I slow down and start actually still-hunting.
When still-hunting, it’s important to move slowly and stop often to look and listen. The most important thing to remember when still-hunting is to always keep the wind solidly in your face. It doesn’t matter how slow and quiet you move if the wind is alerting the elk of your presence. If I am in fresh elk sign, I will usually take a few steps, and then stop to listen and scan the immediate area, either with my eyes or my binoculars. If you’re not finding fresh elk sign, still-hunting is not much more than going on a very slow walk and the odds of filling an elk tag is quite low.
Still-hunting is a great tactic for hunting in open, old-growth timber where visibility is somewhat limited, but where you can still slip along rather quietly. It’s not as effective in brushy areas where you will make a lot of noise, or in really open areas where your optics would probably benefit you more. It can be a great option for a post-rut rifle hunter who is hunting in areas where optics just aren’t conducive to spotting elk.
CALLING ELK
Just to be clear, we are still talking about methods for locating elk. I will go into a lot more detail on actually calling elk into a setup in the next two Modules, but there are two ways calling can be effective when it comes to locating elk. The first is using your calls to get a response from the elk. The other is to simply use your ears to listen for elk that might be calling on their own.
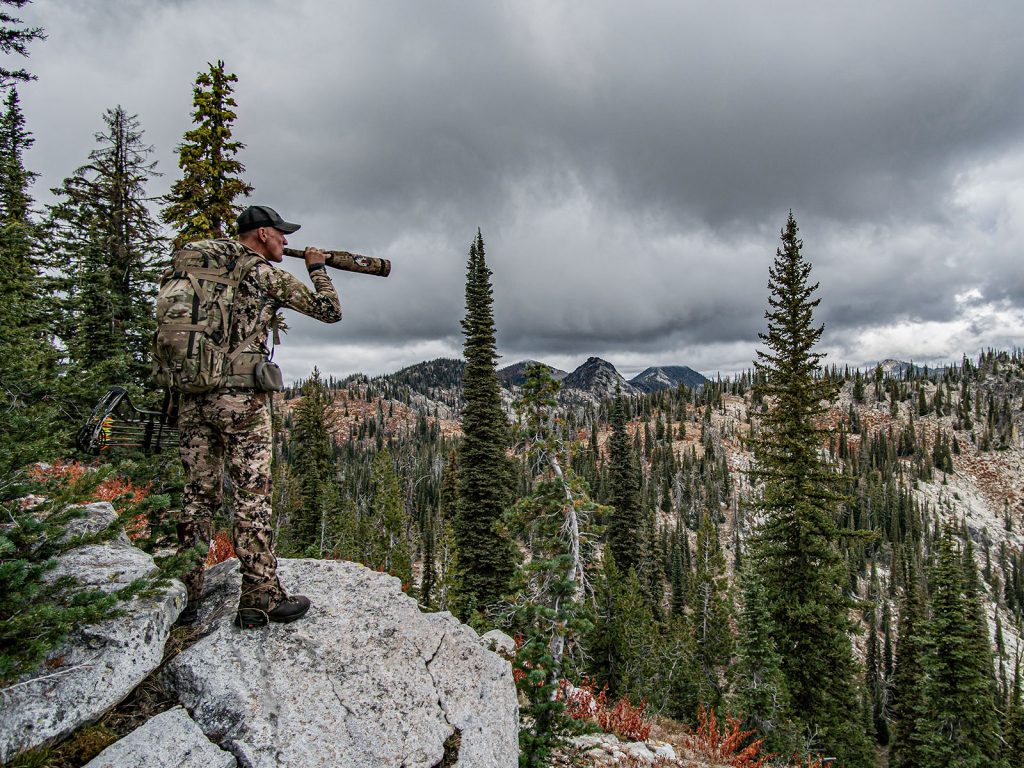
For me, and my style of hunting, I live by the calls from start to finish. I use them to locate elk, and I use them to either bring the elk close to me or to get me close to the elk. However, the way that I call to locate an elk is completely different than the way I call to get the elk to come in close.
My basic strategy for locating elk with my calls involves getting into an area where I can cover a lot of country and gain access to many draws and drainages with my calls. This includes major ridge systems or gated road systems that allow me to hike long distances and use my calls frequently to try and elicit a response from a bull. Additionally, I use this strategy all throughout the day.
Knowing where the elk are during the early morning, as well as where they are during the middle of the day, is incredibly valuable as I plan my hikes. It is also important to consider what the wind will be doing throughout the day as you make a plan for your hike.
I usually start out at lower elevations and hike up throughout the morning. Then, as the thermals change, I am usually above the bedding areas and spend the day hiking across the country at that elevation. In the evening, I am dropping back down to my original starting point and staying ahead of the elk and the changing thermals.
This strategy for locating elk is very dynamic, and involves a lot of hiking. Additionally, I have no doubts that I walk past several elk every day that just simply aren’t calling. And I’m 100% OK with that. I am looking for the one bull that is talking and that presents the best opportunity for me to call in. That might mean walking past multiple elk to find the one that is ready to comply with my hunting style.
As far as the actual calls that I use to locate elk, it’s pretty simple.
COW CALLING
A cow call is a very non-threatening call to a bull elk. In September, there are very few instances when the call from a lone cow won’t elicit some kind of interest from a bull, regardless of his size. I almost always start my location sequence off with a couple of non-threatening cow calls. Sometimes, I will also use my bugle tube to broadcast the cow calls further, but if I can get a bull to respond to a cow call, and not alert him to the fact that there is another bull (me) in the area, this can be a great advantage for when I am ready to call him in.
I prefer to use a diaphragm call for both cow calls and bugles, but I have found that often times, a bull will respond to an external cow call when he might not be responding to a diaphragm cow call. So, I carry both, and if I’m having troubles getting a response, I mix it up and give him cow calls using both the diaphragm and the external call.
Here is a quick video showing the basic cow sounds I use to locate a bull:
If I get a response to my cow calls, I immediately proceed to the next step, and either set up right there or make my “approach” to get set up.
LOCATION BUGLES
My go-to elk call for locating elk is a “location” bugle. This is a higher-pitched, two or three note call that really echoes out across a canyon. It is also a non-threatening call, and utilizes very little emotion. It is simply loud and clear, and the purpose is just as you would imagine – to get a response from an elk so we can determine his location. The effectiveness of this call comes from the natural response of one elk advertising their location (me) and another bull responding to let them know that they are also in the area.
After I’ve given a couple of cow calls with no response, I will let out a location bugle. The sound of the location bugle will carry much farther than the cow calls, and will often bring a response when the cow calls don’t. After I give a location bugle, it’s important to listen intently for 1-2 minutes. I want to hear everything that is going on in that area – branches breaking from a silent elk sneaking in, short, soft growls or whistles from timid bulls, etc. The responses I get aren’t always full, aggressive bugles, but any response from an elk can provide me with what I am looking for at this point – his location.
If nothing answers my original location bugle, I’ll give another one after 1-2 minutes. I’ll listen intently again, but if nothing answers after another minute or two, I’m off to the next vantage point. Again, I am looking for a responsive bull. If I have to wait 15-20 minutes for an elk to make a peep, the odds of actually calling that bull in using calls is very low. However, if an elk will respond to my location calling within a couple of minutes – or even better, immediately – I become very confident that I can call that bull into a set up.
Without a response, I continue up the ridge and stop again when I get to a new vantage point that will allow me to bugle into an area that my calls likely haven’t reached previously. Sometimes this is only a couple hundred yards. Other times, it might be a half-mile or more.
Here is what my location bugle sounds like:
I have been accused of bugling way too much, and I agree 100% with those accusations. However, while those people are wasting the middle of the day trying to find my vehicle and leave me a note to let me know I bugle too much, I’m usually up on the mountain calling in – and maybe packing out – an elk! 🙂
Another item worth mentioning when using calls to locate elk, is to make sure you are in a decent setup when you start making your location calls. If a bull answers from 150 yards away and immediately heads in to your calls, you don’t want to be caught out in the wide open or in a brush thicket where you will have no chance of getting a shot when the elk comes in. And make sure the wind is in your favor, or at least know what direction the thermals are going. Sometimes, when you get an immediate response, you have to act very quickly to get the wind in your favor and get set up. Keep this in mind as you make your location calls. Many times, there is very little separation from the location sequence to the setup sequence!
DISPLAY BUGLE
There is one other bugle that I will use to elicit a response out of elk, and that is the “display” bugle (or "lip bawl" bugle). When I know there is a tight-lipped bull in an area that just won’t respond to my location calls, I’ve found the display bugle to be effective at getting that bull to call back, thereby giving up his location. If I have been calling to a bull and he goes quiet, or if I had previously spotted a bull with optics and can’t get him to talk, I might defer to this call to get a bead on his location. I go into a lot more detail (and demonstration) on this call in Module 11: Common Challenges.
NIGHT BUGLING
Bugling after dark can be a great way to locate elk for the next morning. I can’t tell you how many times I’ve hunted through an area all day, only to have a bull fire off on his own once the sun goes down. Many times, the elk will only bugle at night, especially if there is a full moon, or excessive heat or pressure. Using the same tactics as above, you can cover country at night and often locate a handful of bulls to go after the next morning.
I will warn you though, 3 or 4 nights of night bugling followed by all day hunts is a recipe for wearing yourself out quickly. Sleep is important, but if I am having troubles locating elk, I’ll stay mobile even after dark in the hopes of finding elk I can hunt the next day. If I do get an elk to respond in the dark, I’ll go quiet and back out of the area. The last thing I want him to do is come in to my calls in the dark. If he winds me then, my chances of getting him to respond during the daylight go down even more.
LISTENING FOR ELK
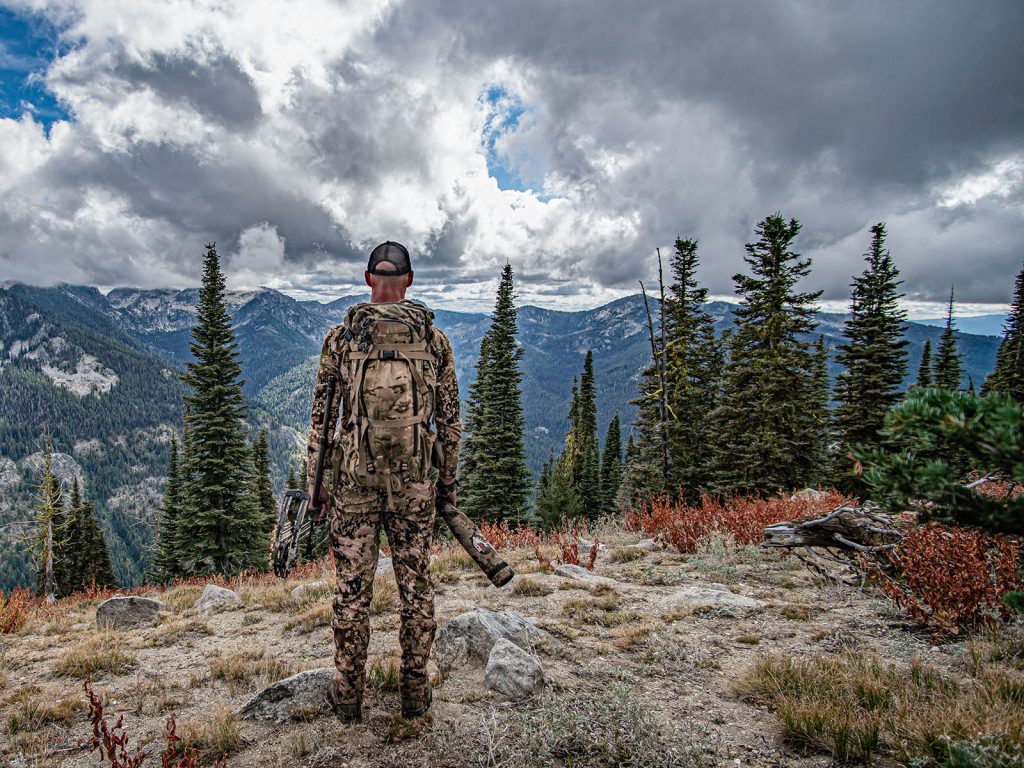
If using calls just isn’t your preferred style, you can still utilize elk calls to locate elk. I know several very successful elk hunters who use location bugles to locate elk, and then put the calls away and go into stealth mode to spot and stalk the elk. If you don’t feel comfortable using calls at all, you can still locate elk by listening for them to talk on their own.
Again, covering a lot of miles and simply glassing and/or listening for bugles can provide you with pinpoint locations on where the elk are, and allow you to make your next move without the elk even knowing you are in the area. Elk are vocal animals – especially during the rut. Using their communication to be able to locate them can be a very effective way to set yourself up for success.
BE MOBILE
I can’t stress enough the fact that it often takes covering a lot of ground to locate elk. Regardless of your method for locating elk, you will be more successful if you are able to cover more country. Knowing an area, and knowing the associated vantage points within that area, will definitely benefit you as you look for elk.
If you are using calls to locate elk, and hope to use calls to bring the elk in close, you have to find elk that are responsive to calls. It will do you no good to keep hunting the same area – even if you know there are elk there – if you are relying on your calls and the elk aren’t responding. Don’t get stuck in a rut. You either need to relocate or change your tactics. I’m sure you’ve heard the definition of insanity as doing the same thing over and over and expecting different results, right? Being mobile will increase your chances of locating elk, regardless of the method you prefer to use to find them.
FINAL APPROACH
Regardless of the method you use for locating elk - glassing, still-hunting, or calling – it will be helpful if you stay mobile, obey the wind, and learn to read fresh elk sign. With an elk located, the hunt is on. Depending on your weapon, it may be over in just a matter of seconds, or it may be just the beginning.
While locating elk is the vital first step to being successful, the way you move in on the elk after you’ve located them is also quite important. For a rifle hunter who is using optics to spot elk, it might be a matter of clicking the safety off and getting a good rest. For a bowhunter who is looking to call the bull into a setup, there is going to be a lot more involved in the approach.
For me, once I’ve located an elk, I pinpoint the bull’s location and find a few identifiable landmarks that will guide me in closer. Then, if I plan on using elk calls to call him into a setup, I go completely silent. I make sure the wind is in my favor, and then I head for the elk with a goal to get as close as I possibly can without the bull knowing I’m coming. If I used calls to locate the bull, he knows there was an elk up on the ridge that bugled to him a couple of times, but I don’t give him any indication that I was interested in meeting up with him. I simply go quiet, and get as close to that bull as I can.
Moving in on the bull without him knowing you are heading his direction is a very important part of the next step. If you are a rifle hunter, you are simply trying to get inside your effective range to get the bull in a shooting lane and make the shot. If you are a bowhunter who isn’t using calls, you’re going to need to keep tabs on the bull – usually visually – and continue working yourself in to a spot and stalk situation. If you are planning to use calls to bring the bull in to you, you are going to be far more effective if you can get close to the bull before you set up and use the calls.
Very rarely will I actually drop down right there and set up to begin calling. If I can get closer to that bull, I’m going to push that envelope. Then, once I am as close as I feel I can get, I will set up and begin calling. However, the setup is probably the most critical part of the entire process, so before we get into actually calling in the elk, I’m going to cover a bunch more important information focused on your setups in the next Module.
SUMMARY
Elk are where you find them. The goal is to find them, and not waste a bunch of precious hunting time doing it. In many cases, pre-season scouting will make it easier to find the elk during the season. But ultimately, it will be your ability to locate the elk on the day you are hunting that will set you up for success.
Click ‘Next Module’ Below to Continue to Module 8: Setting Up On Elk


