MODULE 4 - ELK HUNTING GEAR
CHAPTER 1: IS GEAR IMPORTANT?

The short answer to this questions is, Yes. Is it possible to kill an elk while wearing blue jeans and an old flannel shirt? Of course. In tennis shoes? Yep. With a $200 bow or rifle? Sure. And pack it out with a couple of sticks and some baling twine? Well, technically yes. So is gear really worth talking about? Uh, yeah.
While it is possible to kill elk using the most primitive, basic, and inexpensive gear available, it isn’t always advised. If we go back to the four key functions of gear, it is supposed to increase our safety, comfort, efficiency, and success. And while certain gear isn’t “necessary” for success, it can definitely contribute to your safety, comfort, and efficiency, and ultimately, your success.
INCREASED COMFORT, INCREASED SUCCESS
Here’s my take on it. Functional gear that is designed to perform for your intended purpose can increase your efficiency. That means it can get you a little closer to your desired outcome than gear that is lower quality or not ideally suited. In no way does that mean the other gear won’t allow you to be successful, but better gear will make up some gaps that in certain situations could be the difference between success and failure. It’s important to remember that gear that is better for someone else might not be better for you.
Proper gear can also increase your comfort. Before you go accusing me of being soft, let me qualify that statement. If you are soaking wet and cold, the odds of you ending up back at camp sooner increase.

If your feet are sore or covered in deep blisters, you won’t be hiking as far as you would have otherwise gone. Comfort allows you to extend the time you spend and/or the distance you cover while hunting. Again, you might be able to kill an elk in a short amount of time without hiking very far. But, being able to extend those ranges will absolutely increase your odds, especially in those cases where you have to dig a little deeper.
I’m not going to go so far as to say that quality gear is necessary to kill an elk. But I will go as far as to say that the right gear will increase your chances of success by increasing your comfort and efficiency, and extending your time in the field.
GET IT RIGHT
Let me validate what I just said by adding that simply going out and spending a ton of money on gear isn’t going to necessarily help you. It is important to find the right gear, gear that functions best based upon your personal hunting styles. Dropping $700 on an ultralight, 4-season backpacking tent isn’t necessary if you hunt from a base camp in early September. However, spending a couple extra dollars on a nice blue tarp to place over your $50 Walmart tent wouldn’t be a bad idea. 🙂
There are a lot of companies out there whose marketing budgets far exceeds their product development budgets. Just because they are able to continually get their product in front of you doesn’t mean their product is the right one for you. It’s important to find gear that matches your hunting needs and styles and is functional for you. There will be some things that stand out as being critical for your needs, while other areas will be easier to compromise. Knowing these areas beforehand will allow you to research and acquire gear that is functional for the way you hunt.
If you plan to hunt the backcountry and spend several nights away from a base camp, you will want to put more attention into your “camping” gear – lightweight tents, sleeping bags, stoves, etc. Establishing a game plan for “where and how” you plan to hunt will help you narrow down what gear will be necessary for you.
BUDGET
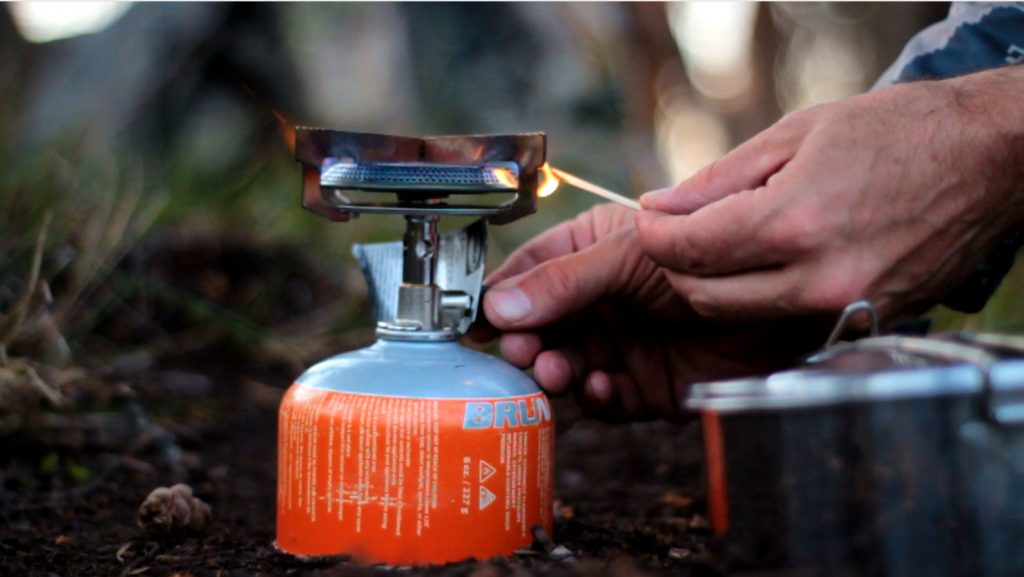
With a prioritized list of gear, you can start budgeting as needed. It might not make a lot of sense to buy a $100 backcountry stove if you will be coming back to a base camp every night and a $30 Coleman cook stove will do. Or, your hard-earned money might be better spent on extra arrows and a nice pair of boots rather than $500 rain gear for the slight chance of a passing shower in early September. You get my point. Create a list of the gear you will need. Then, prioritize it based upon what is critical for your specific hunt. Put more emphasis (and money) towards those items at the top of the list, and skimp on the gear that is lower on the list. Then, start accumulating what you need.

I have learned over the years that it is often better to do some research and find gear that will last for several seasons, rather than just going out and buying something cheap to get you by and last a shorter time. That certainly doesn’t mean that you have to buy the best of everything, but there are definitely some things that are better to buy just once. This may require some sacrifices or some planning and saving, but in the long run – especially if you plan to hunt elk regularly – it is the way to go.
Once you have the gear you think you are going to need, don’t just put it in a tote and store it until elk season. Use it and abuse it ahead of time. There is nothing worse than finding out your gear is not what you need when you need it the most.
PUT IT TO THE TEST
Several years ago, I shot an elk a solid 4-miles from my truck. It was late evening, and I had been hiking hard all day and was now hunting my way back to camp. On the trail on the way out, I jumped a small herd of elk that had been feeding just below the ridge I was hiking down. I managed to get the bull to stop broadside just 40 yards away, and I quickly nocked an arrow and shot. The arrow hit slightly back, but the bull wasn’t going to go far. I backed out and radioed my hunting partner to head up the ridge with packframes, food, and water….necessities I was currently lacking and desperately in need of.
I didn’t realize just how far up the ridge I was, and it was over 3 hours later – and pitch dark – when he finally arrived. Knowing that my shot was farther back than I wanted, and knowing that help was on the way, I hadn’t started tracking the bull. Once he arrived, I quickly wolfed down the PB&J sandwich and bottle of water he had brought, and we took up the bloodtrail. I anticipated finding the bull within 200 yards and getting it quartered up and packed back to the truck before daylight the next morning. However, after 90 minutes and very limited blood, we knew we needed to wait for daylight to finish tracking.

The ground that night was as cold and as hard as any night I have ever spent under the stars. I had good gear, but it only made it survivable, not comfortable. My partner, however, had spent $4 on a lightweight space blanket, and even with his cheap clothing, the minimal heat from our small campfire kept him snoring comfortably all night long. This is just the lead-in to my real point though.
The next morning, we found the bull just 200 yards from where we had slept. Less than 90 minutes after daylight, we had the bull quartered and ready to load on our packframes. I had purchased a brand new packframe just the week before the hunt. With no weight on it, it had felt super comfortable in the store. The overall design looked very similar to my old, trusty pack frame I had used for the previous 10 years, so I bought it and threw it in my hunting box.
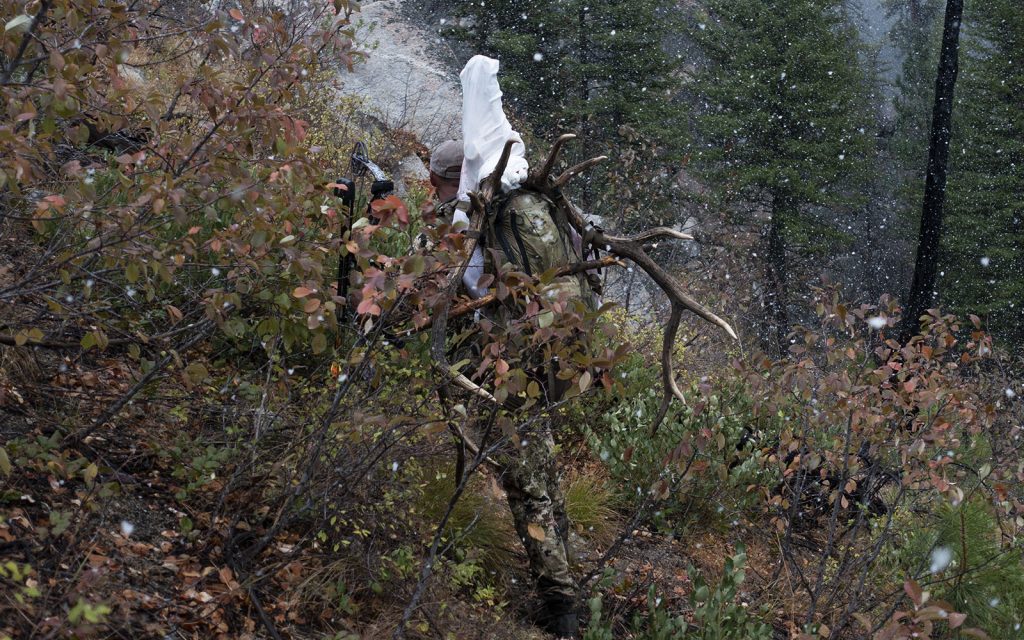
I strapped the boned-out hind quarter, front quarter, neck meat, backstraps, rib meat, brisket meat, and tenderloins onto the pack. Then, I used bungies to attach my day pack and bow to the packframe. I won’t bore you with the details of how much this pack really weighed, but it was heavy. My buddy was carrying an equally heavy load, so we set my pack on a rock so I could easily slip the pack on after I helped him get into his pack and onto his feet. Once he was up, he headed down the hillside.
I rested and drank the last of my water that I had extracted from the creek earlier that morning. Then, I proceeded to climb into the shoulder straps of my packframe. Still sitting on the rock, I attached the waist belt and leaned forward to stand. The weight was staggering, and I could quickly tell the shoulder straps weren’t nearly as comfortable as the ones on my old pack. I could manage though. However, as I stood and the full weight of the pack started tugging on the buckles and straps, the real issue came rushing to the surface. With a quick snap, both of the buckles that attached the shoulder straps to the waist belt exploded.
I was left with no option but to tie the shoulder straps directly to the pack frame, which left me without the ability to adjust the straps. For the next 6+ hours, I labored under the excruciating weight of an improperly adjusted packframe, with far more weight than I should have been carrying. As the pain in my back, neck, and shoulders radiated with each step, I swore I would never bring a pack elk hunting with me again before thoroughly testing it under conditions similar to what it would face in the mountains. And to this day, I haven’t. I can still feel the burning in my shoulders and hip flexors when I think about that pack!
My point to sharing this experience is to highlight the importance of testing the gear in similar conditions to what you expect it to perform in, before you are relying on it to perform a certain way. From elk calls to boots, and from sleeping bags to game bags, you need to know that your gear is going to be reliable and perform exactly how you need it to perform. I’ve slept in a 30-degree sleeping bag that didn’t keep me warm at 50 degrees. I’ve worn boots that I thought were broken in “good enough”, that ended up breaking my feet in and causing me incredible discomfort for an entire hunt. A couple simple test trips ahead of time would have solved these issues, and that is my point. Take the time to prove that your gear is reliable before you have to rely on it.
If you want to see the exact gear I carry for elk hunting, click ‘Next Chapter’ Below to Continue to Chapter 2: What’s In My Pack?


